Food Adulteration is one of the major problems which affect the health of masses and also is responsible for some disease. The main aim of this project was to help people detect adulteration in food using Near Infrared (NIR) spectroscopy. The problem was that the traditional spectrometers were quite bulky and it was almost impossible to carry it around with you. What our aim was to develop a prototype design for the MEMS-FTIR spectrometer so that it can be used for carrying around with us and also collect as many sample and study them so that any adulterated food could be detected.
In the first week we just spent our time to set-up the work place and make sure that all the conditions are perfect to test the sample and also learn how to use the spectrometer. Collection of samples from market and prepare the set-up for testing was our next aim.

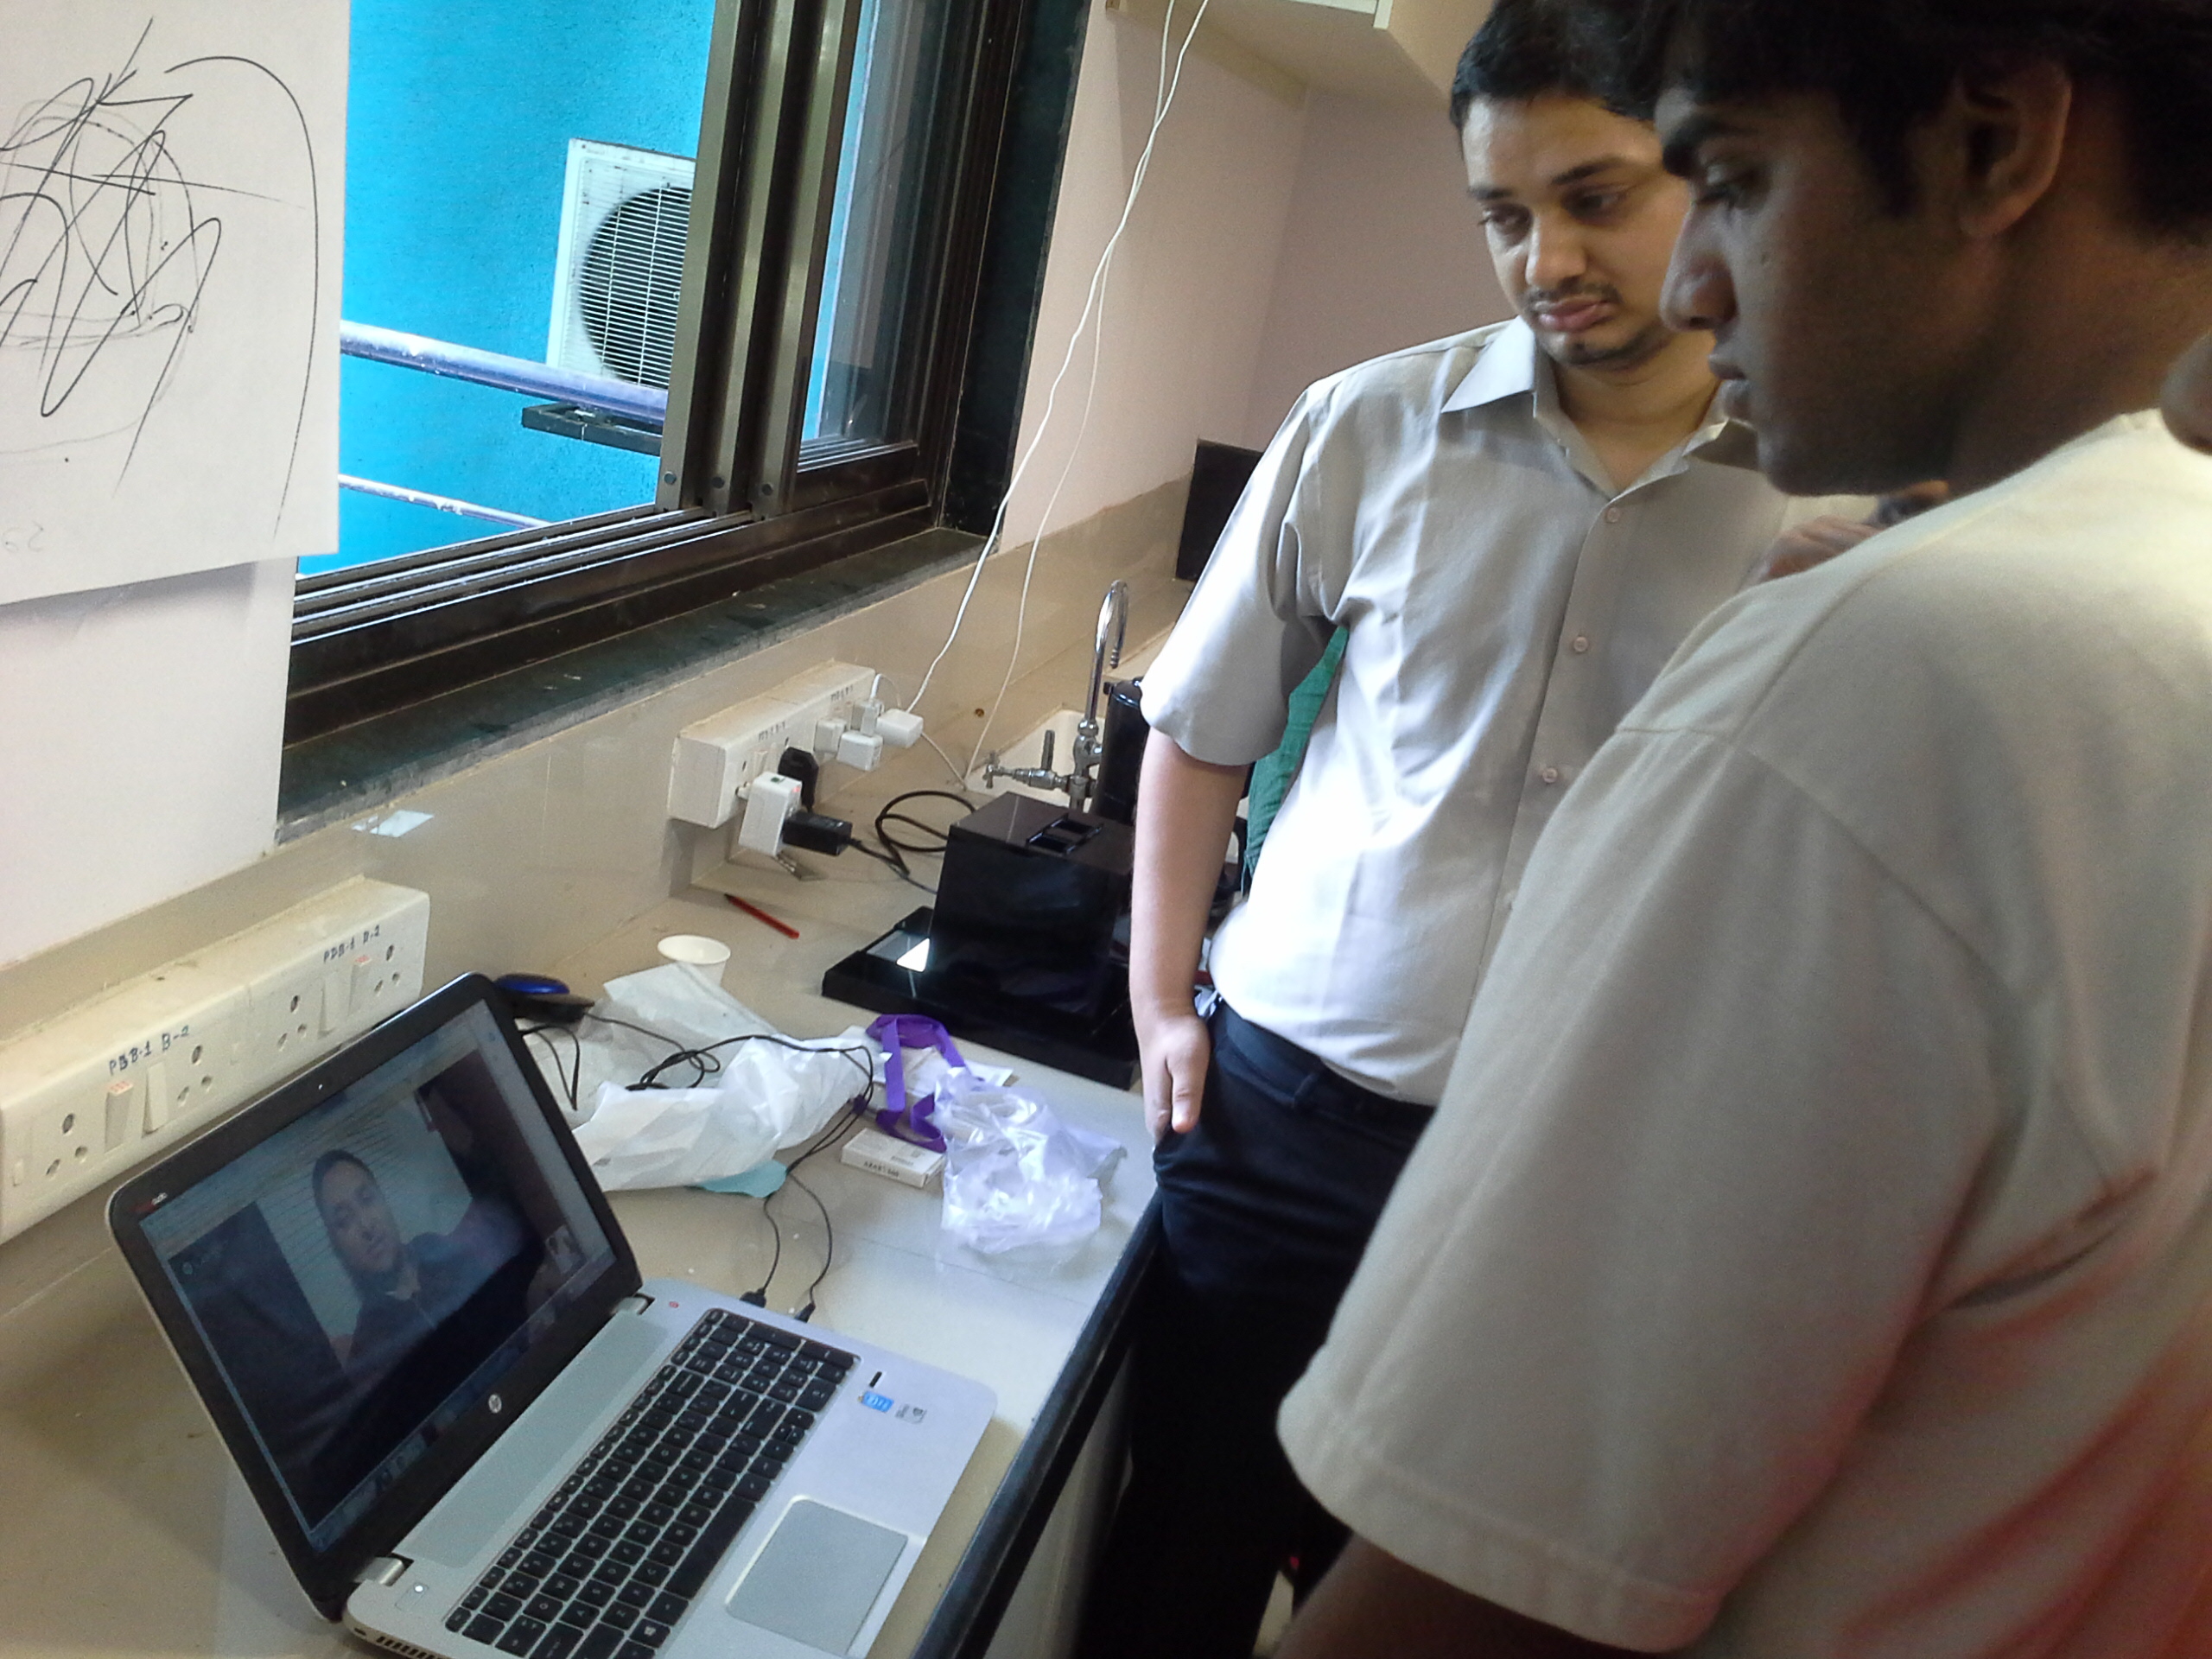
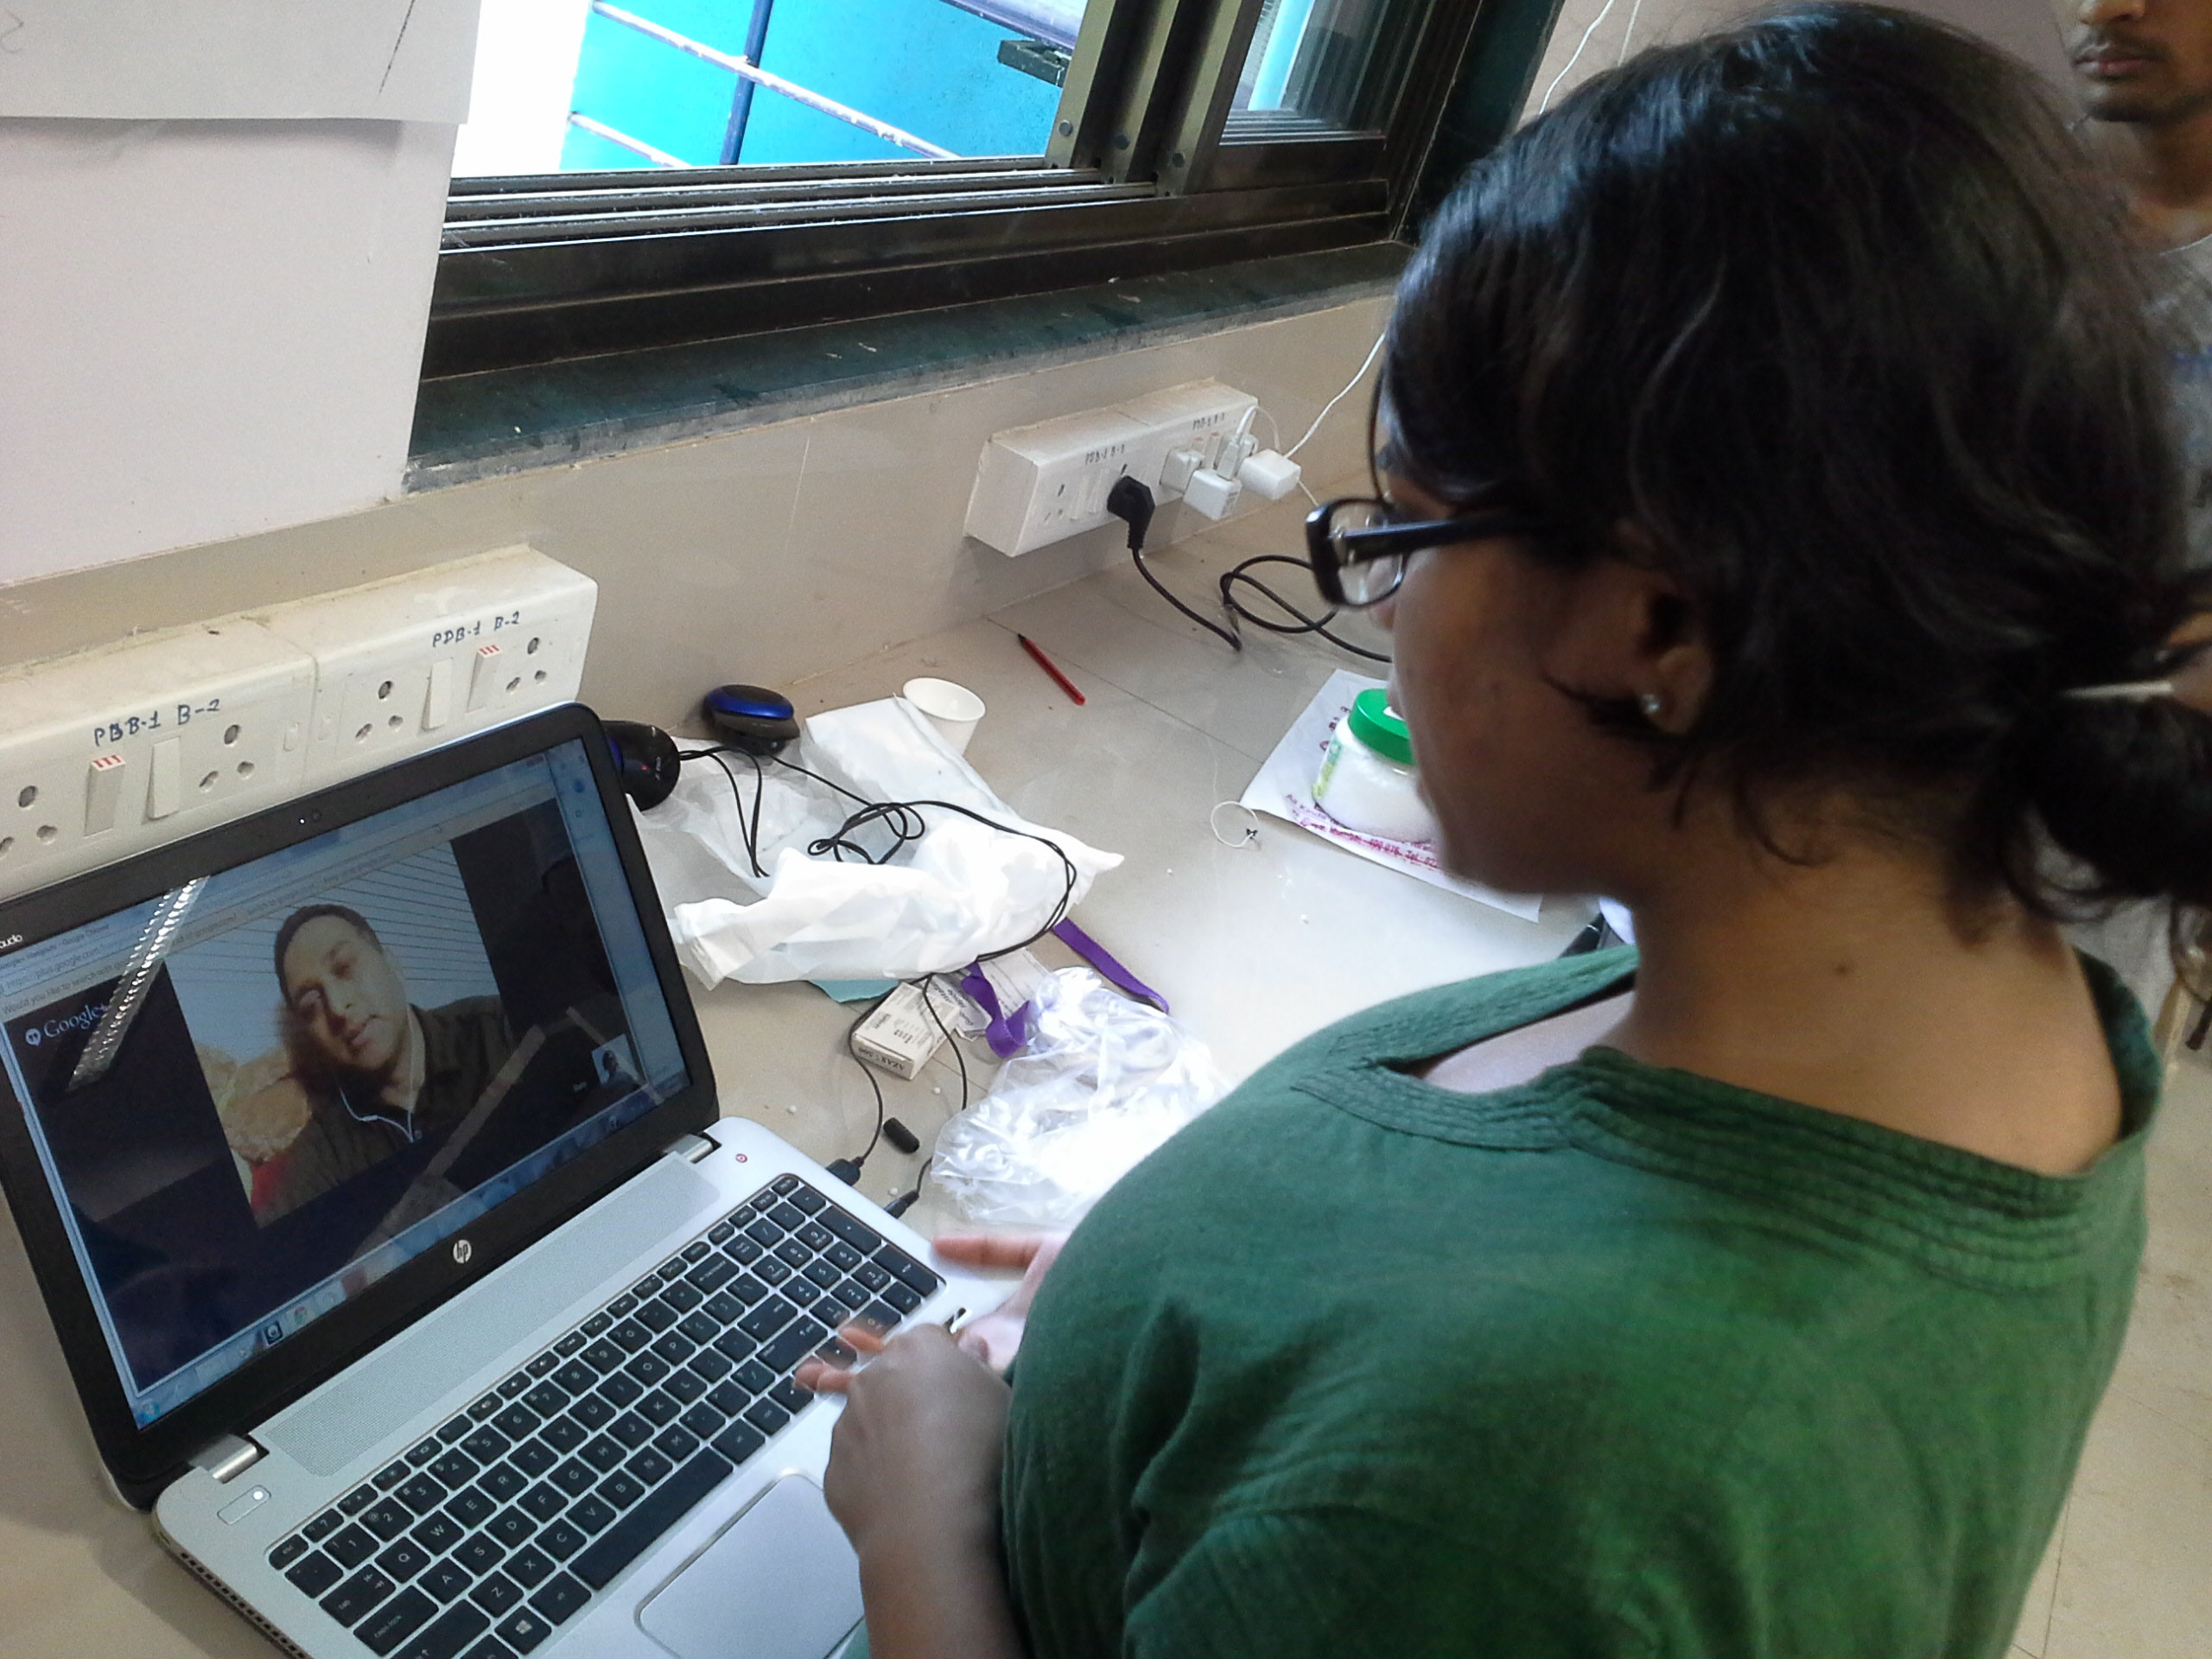
Our Mentor showing us how we to use the spectrometer.
 Milk samples
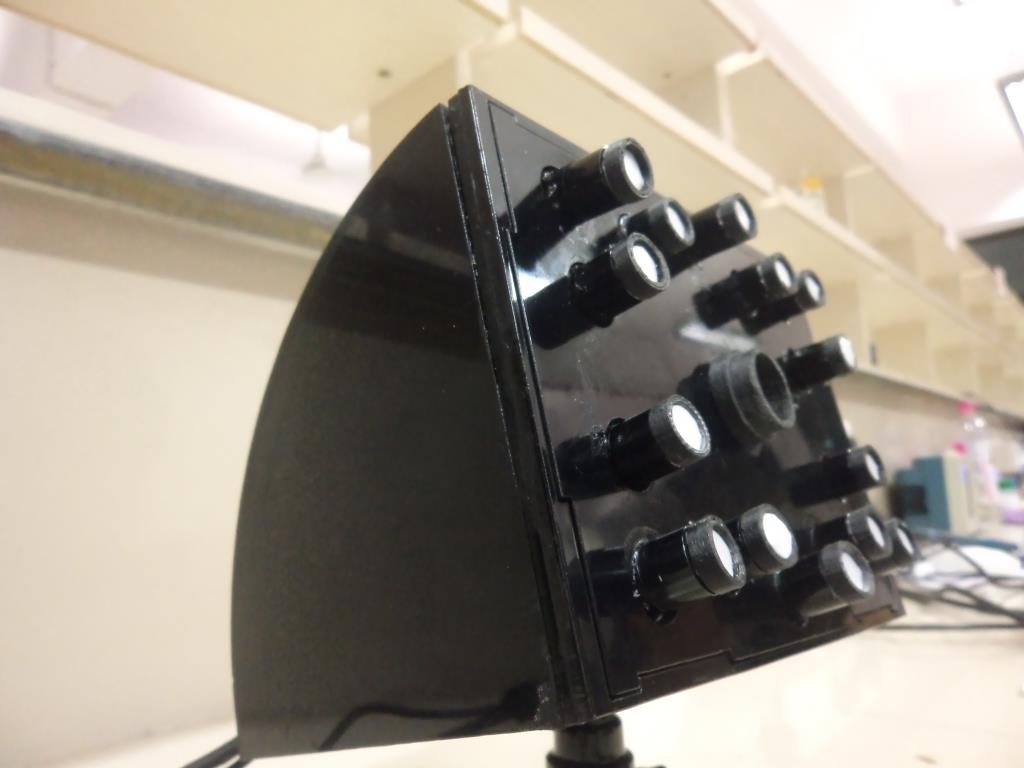
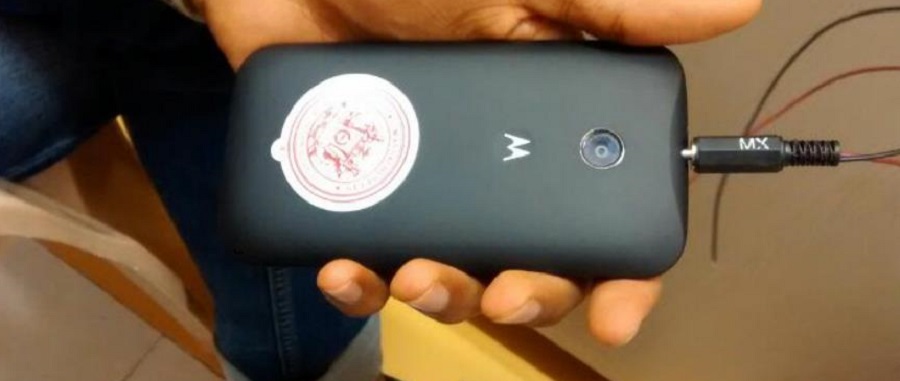
 The Set-up
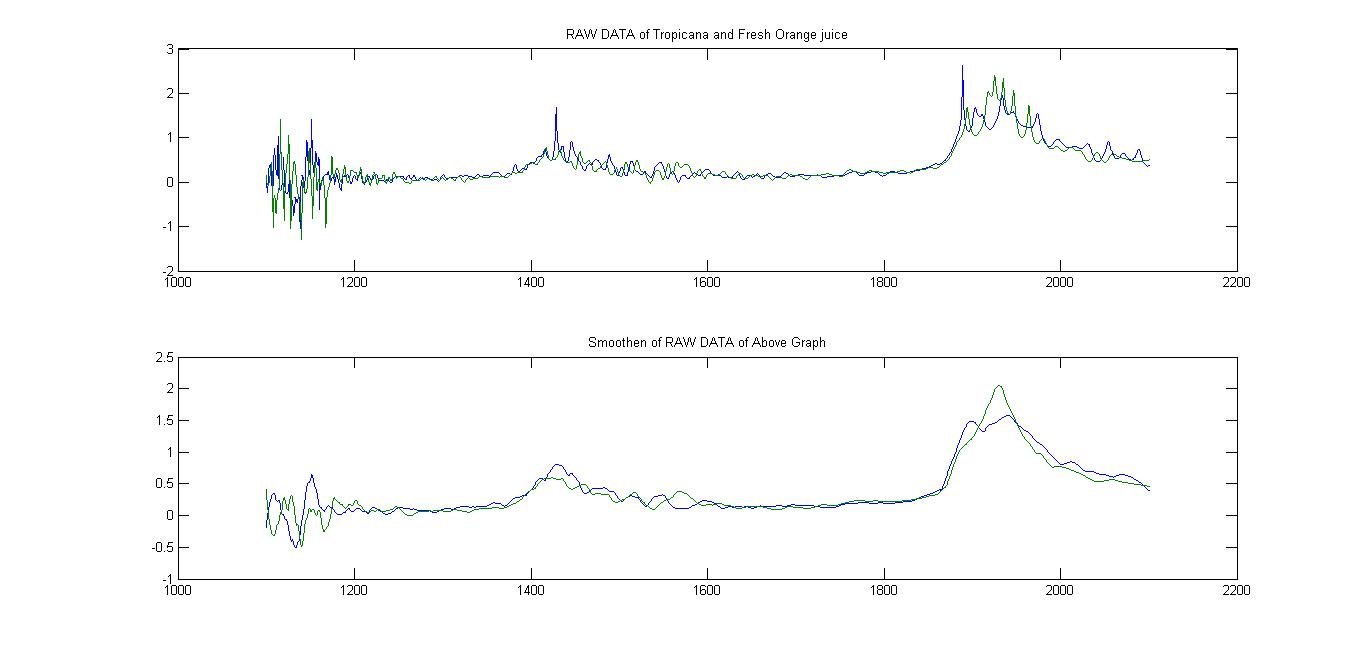
In the second week, we tested more samples and studied them. Some of the samples which we tested were : a) Tropicana Orange Juice b) Harvest Orange Juice c) Fresh Orange juice
The aim was to test it every day to determine consistency of data with only change of buying it from different shops every time. The samples showed some consistency and so next started to mix some preservative ourselves and then test if we could tell the difference. Here are the results.
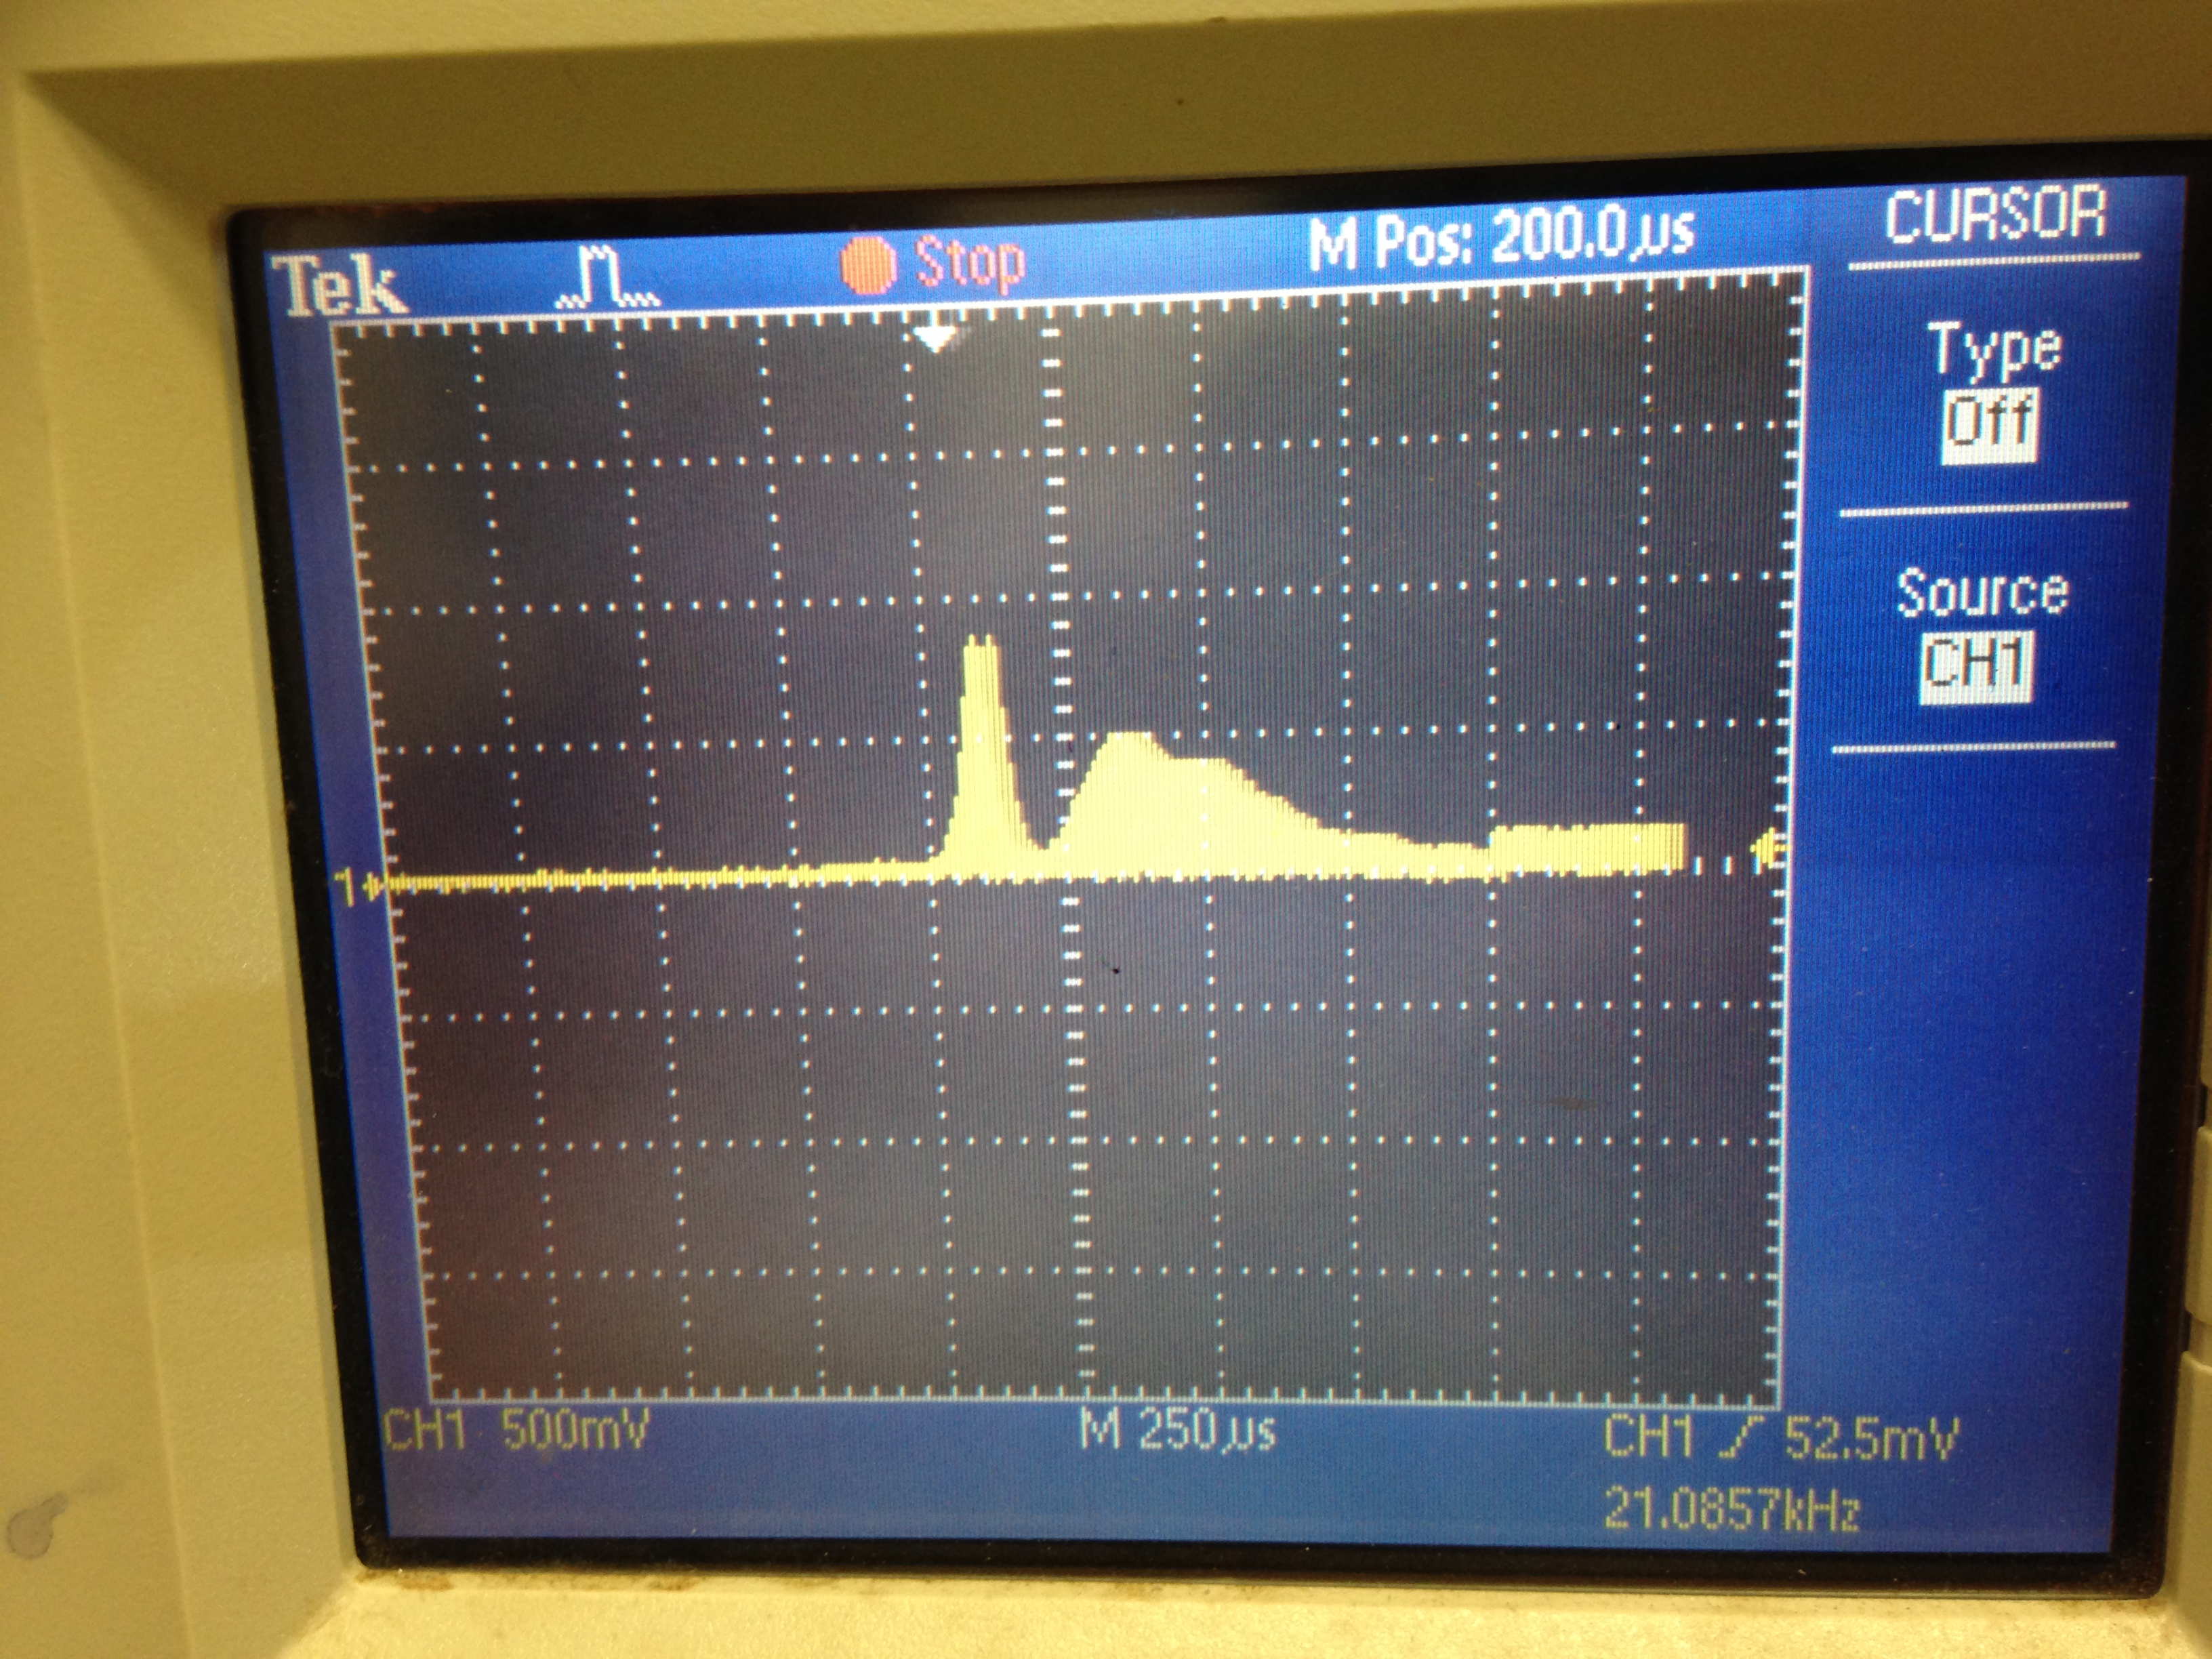
Graph shows Absorbance (Y axis) vs Wavelength in nm ( X axis)

The Raw data directly from sensor

The smoothen graph using filters.
 Graph showing the significance of peak points
In the end of second week we started studying various hair oil in the same way we did with juice. And here are some of the data which we collected (This are data obtained after applying filter).
We plot a spectrum of all the oils to see if we can identify some peak points for differentiation.


Now we started working on prototype so that it can be used as one whole device instead of having one IR-source, spectrometer and slide. Due to lack of material and hardware tools we had to make it with what was available to us. We first were planning to 3D print the prototype but due to high temperature of the IR source the ABS material could have melted, so we tried our hands on Aluminium. We managed to find a drill from a nearby store, some waste aluminium and only 2 hours to make this. And this is what our final prototype looked like.

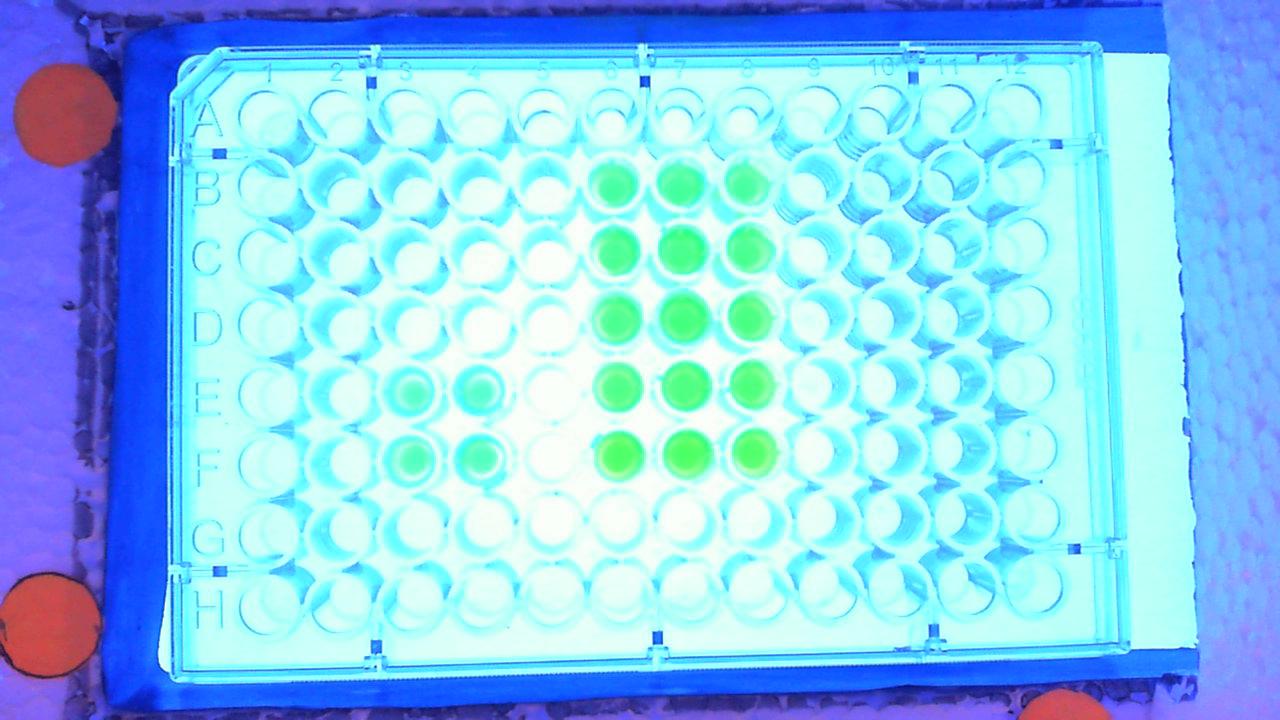
Conclusion: One important conclusion we found was that the pure milk and similar looking adulterated milk with almost same physical properties looked very different under IR light. The adulterated milk had excess water ( to increase quantity), Palm oil ( for increasing density), Shampoo(to give foamy lather on top like fresh milk) but under light it looked like this! A important finding which proved that this method can be useful for detecting adulteration.
 Under the light.


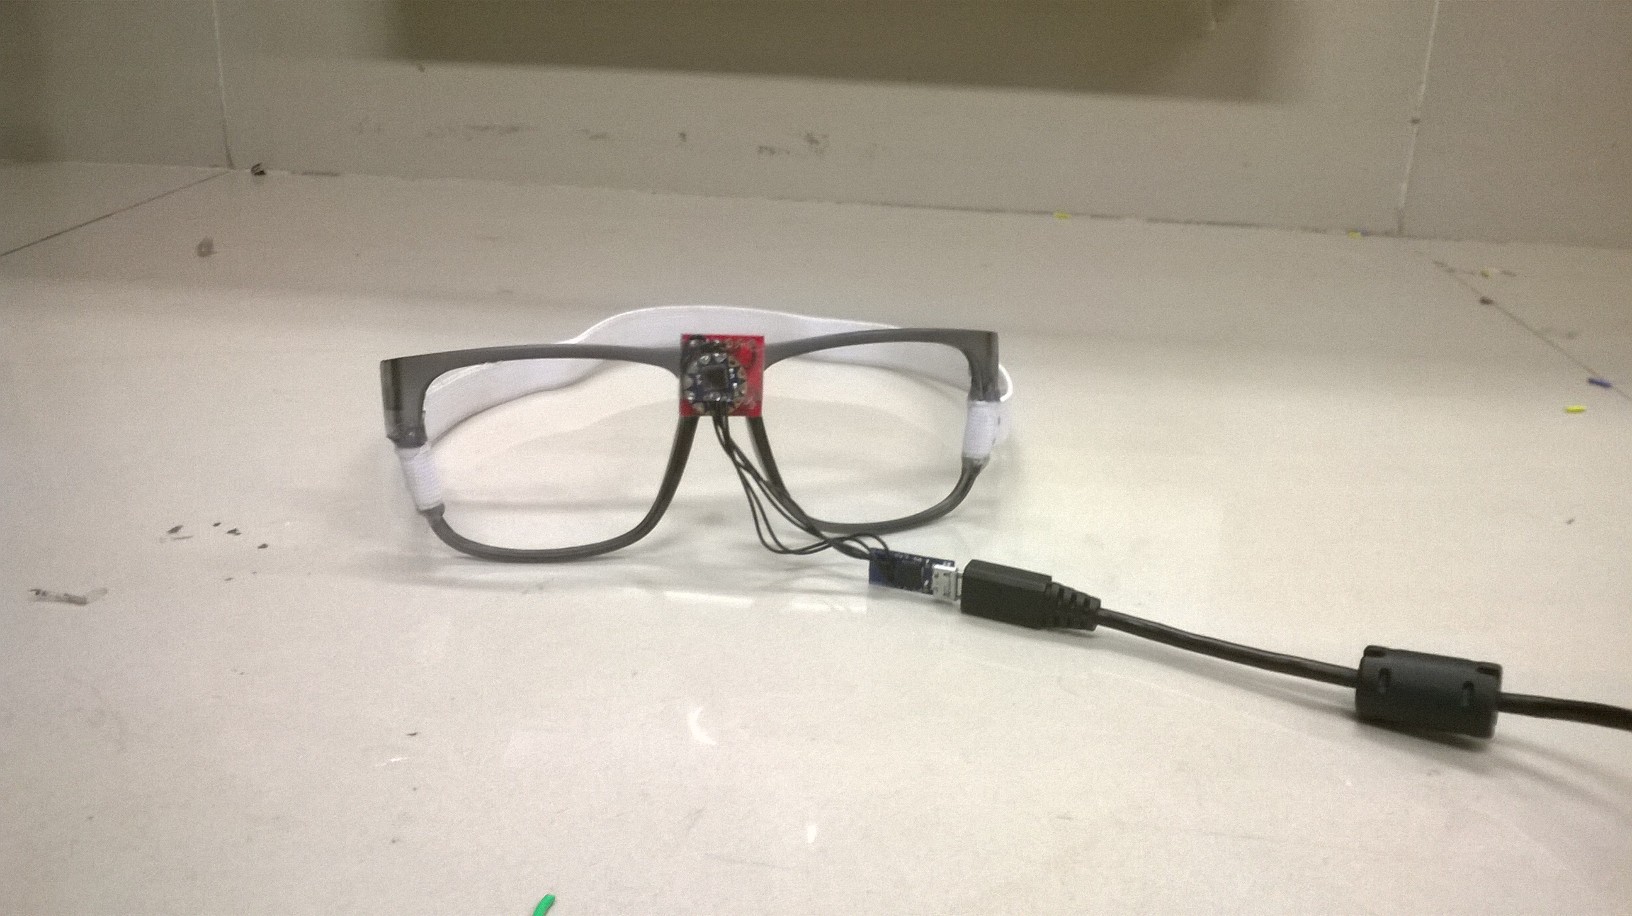
 Here we present ārām 1.0 to you!